from langgraph.graph import StateGraph, START, END from langgraph.graph.message import add_messages
classState(TypedDict): # Messages have the type "list". The `add_messages` function # in the annotation defines how this state key should be updated # (in this case, it appends messages to the list, rather than overwriting them) messages: Annotated[list, add_messages]
for event in graph.stream(message): for node, output in event.items(): if output and"messages"in output: print("Assistant:", output["messages"][-1].content)
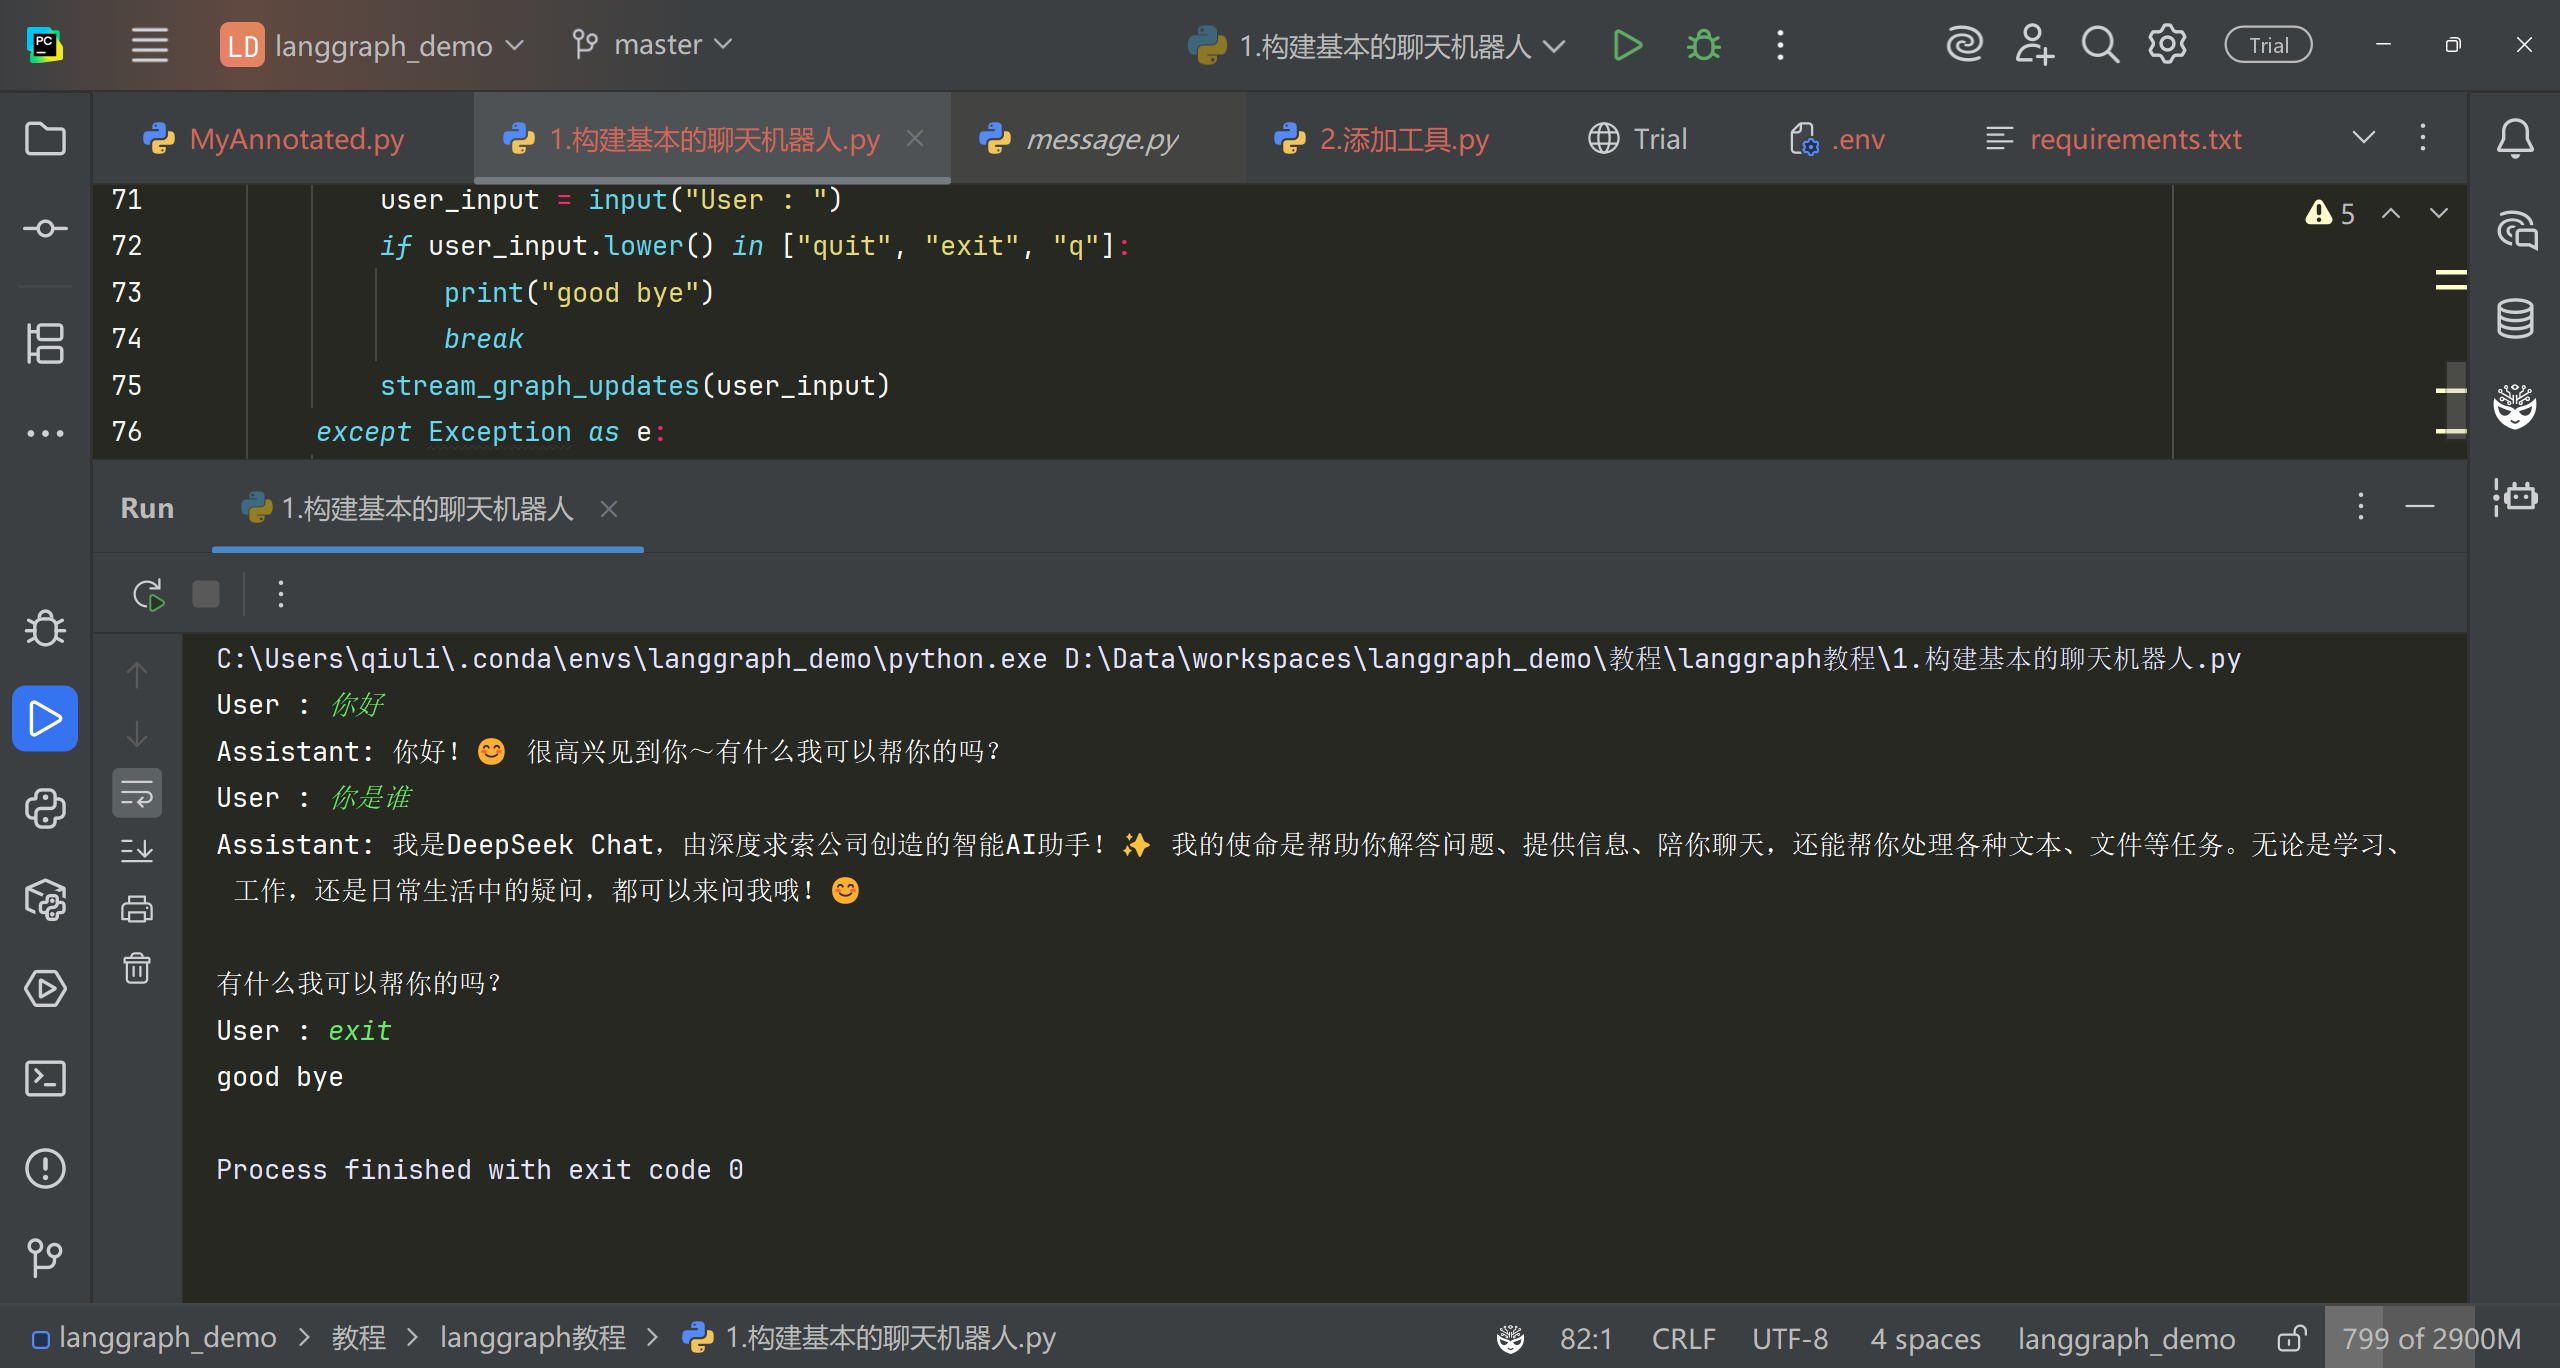
whileTrue: try: user_input = input("User : ") if user_input.lower() in ["quit", "exit", "q"]: print("good bye") break stream_graph_updates(user_input) except Exception as e: # print(f"Error is : {e}") user_input = "What do you know about LangGraph?" print("User: " + user_input) stream_graph_updates(user_input) break
''' - {key: value for item in iterable} 是字典推导式的标准格式 - 这里tool.name作为字典的键(key) - tool本身作为字典的值(value) - for tool in tools 遍历输入的工具列表 ''' def__init__(self, tools: list) -> None: self.tools_by_name = {tool.name: tool for tool in tools}
# 定义条件边 defroute_tools(state: State): ifisinstance(state, list): ai_message = state[-1] elif messages := state.get("messages", []): ai_message = messages[-1] else: raise ValueError(f"No messages found in input state to tool_edge: {state}") ifhasattr(ai_message, "tool_calls") andlen(ai_message.tool_calls) > 0: return"tools" return END
graph_builder.add_conditional_edges( # 源节点名称,表示条件判断的起点 "chatbot", # 条件判断函数,它应该返回一个键(如"tools"或"END") route_tools, # The following dictionary lets you tell the graph to interpret the condition's outputs as a specific node # It defaults to the identity function, but if you # want to use a node named something else apart from "tools", # You can update the value of the dictionary to something else # e.g., "tools": "my_tools" # 路由映射字典 {"tools": "tools", END: END} )
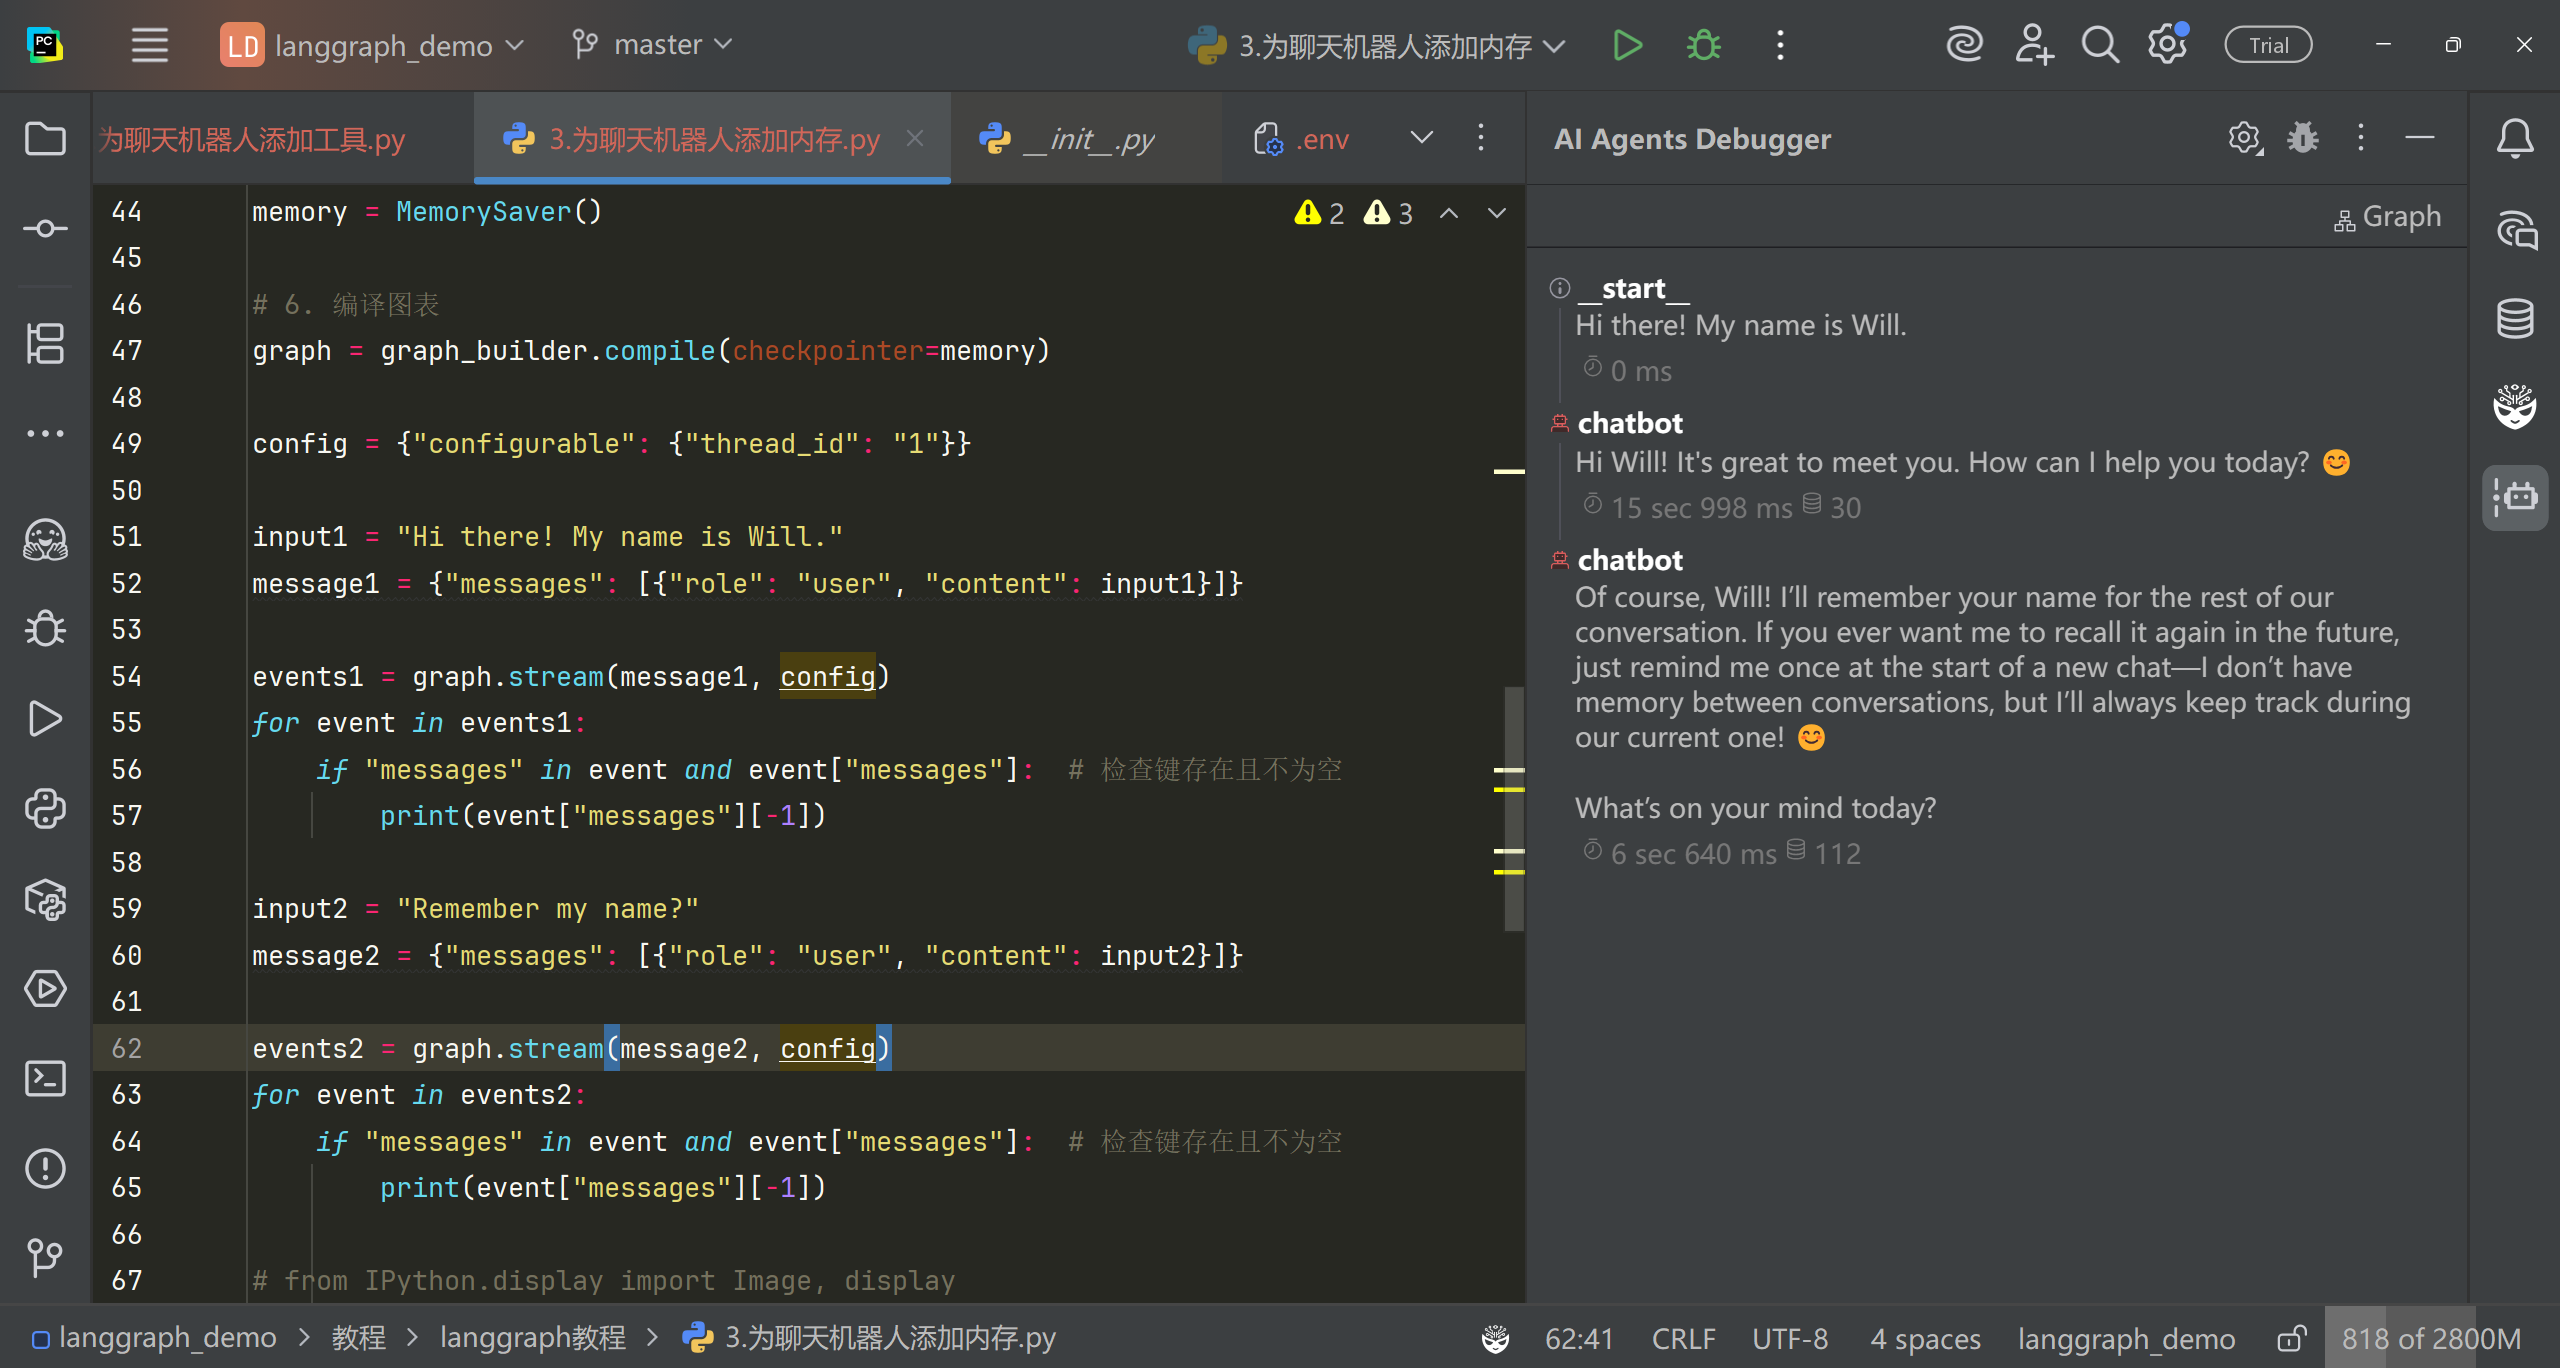
StateSnapshot(values={'messages': [HumanMessage(content='Hi there! My name is Will.', additional_kwargs={}, response_metadata={}, id='8c1ca919-c553-4ebf-95d4-b59a2d61e078'), AIMessage(content="Hello Will! It's nice to meet you. How can I assist you today? Is there anything specific you'd like to know or discuss?", additional_kwargs={}, response_metadata={'id': 'msg_01WTQebPhNwmMrmmWojJ9KXJ', 'model': 'claude-3-5-sonnet-20240620', 'stop_reason': 'end_turn', 'stop_sequence': None, 'usage': {'input_tokens': 405, 'output_tokens': 32}}, id='run-58587b77-8c82-41e6-8a90-d62c444a261d-0', usage_metadata={'input_tokens': 405, 'output_tokens': 32, 'total_tokens': 437}), HumanMessage(content='Remember my name?', additional_kwargs={}, response_metadata={}, id='daba7df6-ad75-4d6b-8057-745881cea1ca'), AIMessage(content="Of course, I remember your name, Will. I always try to pay attention to important details that users share with me. Is there anything else you'd like to talk about or any questions you have? I'm here to help with a wide range of topics or tasks.", additional_kwargs={}, response_metadata={'id': 'msg_01E41KitY74HpENRgXx94vag', 'model': 'claude-3-5-sonnet-20240620', 'stop_reason': 'end_turn', 'stop_sequence': None, 'usage': {'input_tokens': 444, 'output_tokens': 58}}, id='run-ffeaae5c-4d2d-4ddb-bd59-5d5cbf2a5af8-0', usage_metadata={'input_tokens': 444, 'output_tokens': 58, 'total_tokens': 502})]}, next=(), config={'configurable': {'thread_id': '1', 'checkpoint_ns': '', 'checkpoint_id': '1ef7d06e-93e0-6acc-8004-f2ac846575d2'}}, metadata={'source': 'loop', 'writes': {'chatbot': {'messages': [AIMessage(content="Of course, I remember your name, Will. I always try to pay attention to important details that users share with me. Is there anything else you'd like to talk about or any questions you have? I'm here to help with a wide range of topics or tasks.", additional_kwargs={}, response_metadata={'id': 'msg_01E41KitY74HpENRgXx94vag', 'model': 'claude-3-5-sonnet-20240620', 'stop_reason': 'end_turn', 'stop_sequence': None, 'usage': {'input_tokens': 444, 'output_tokens': 58}}, id='run-ffeaae5c-4d2d-4ddb-bd59-5d5cbf2a5af8-0', usage_metadata={'input_tokens': 444, 'output_tokens': 58, 'total_tokens': 502})]}}, 'step': 4, 'parents': {}}, created_at='2024-09-27T19:30:10.820758+00:00', parent_config={'configurable': {'thread_id': '1', 'checkpoint_ns': '', 'checkpoint_id': '1ef7d06e-859f-6206-8003-e1bd3c264b8f'}}, tasks=())
1
snapshot.next # (since the graph ended this turn, `next` is empty. If you fetch a state from within a graph invocation, next tells which node will execute next)
# 运行程序 user_input = "I need some expert guidance for building an AI agent. Could you request assistance for me?" config = {"configurable": {"thread_id": "1"}}
events = graph.stream( {"messages": [{"role": "user", "content": user_input}]}, config, stream_mode="values", ) for event in events: if"messages"in event: event["messages"][-1].pretty_print()
# 恢复执行 human_response = ( "We, the experts are here to help! We'd recommend you check out LangGraph to build your agent." " It's much more reliable and extensible than simple autonomous agents." )
# 核心流程: # 首先通过interrupt()中断当前流程,向人工发送验证请求(包含问题和待验证数据) # 根据人工响应判断信息是否正确: # 如果响应以"y"开头(表示确认),则保留原始数据 # 否则使用人工提供的新数据 # 构造状态更新对象,包含验证后的数据和工具消息 # 返回Command对象指示框架更新状态 @tool defhuman_assistance(name: str, birthday: str, tool_call_id: Annotated[str, InjectedToolCallId]) -> str: """Request assistance from a human.""" human_response = interrupt({"question": "Is this correct?", "name": name, "birthday": birthday}) # If the information is correct, update the state as-is. if human_response.get("correct", "").lower().startswith("y"): verified_name = name verified_birthday = birthday response = "Correct" # Otherwise, receive information from the human reviewer. else: verified_name = human_response.get("name", name) verified_birthday = human_response.get("birthday", birthday) response = f"Made a correction: {human_response}" # This time we explicitly update the state with a ToolMessage inside # the tool. state_update = { "name": verified_name, "birthday": verified_birthday, "messages": [ToolMessage(response, tool_call_id=tool_call_id)] } # We return a Command object in the tool to update our state. return Command(update=state_update)
user_input = ( "Can you look up when LangGraph was released? " "When you have the answer, use the human_assistance tool for review." ) config = {"configurable": {"thread_id": "1"}}
events = graph.stream( {"messages": [{"role": "user", "content": user_input}]}, config, stream_mode="values", ) for event in events: if"messages"in event: event["messages"][-1].pretty_print()
================================ Human Message =================================
Can you look up when LangGraph was released? When you have the answer, use the human_assistance tool for review. ================================== Ai Message ==================================
[{'text': "Certainly! I'll start by searching for information about LangGraph's release date using the Tavily search function. Then, I'll use the human_assistance tool for review.", 'type': 'text'}, {'id': 'toolu_01JoXQPgTVJXiuma8xMVwqAi', 'input': {'query': 'LangGraph release date'}, 'name': 'tavily_search_results_json', 'type': 'tool_use'}] Tool Calls: tavily_search_results_json (toolu_01JoXQPgTVJXiuma8xMVwqAi) Call ID: toolu_01JoXQPgTVJXiuma8xMVwqAi Args: query: LangGraph release date ================================= Tool Message ================================= Name: tavily_search_results_json
[{"url": "https://blog.langchain.dev/langgraph-cloud/", "content": "We also have a new stable release of LangGraph. By LangChain 6 min read Jun 27, 2024 (Oct '24) Edit: Since the launch of LangGraph Platform, we now have multiple deployment options alongside LangGraph Studio - which now fall under LangGraph Platform. LangGraph Platform is synonymous with our Cloud SaaS deployment option."}, {"url": "https://changelog.langchain.com/announcements/langgraph-cloud-deploy-at-scale-monitor-carefully-iterate-boldly", "content": "LangChain - Changelog | ☁ 🚀 LangGraph Platform: Deploy at scale, monitor LangChain LangSmith LangGraph LangChain LangSmith LangGraph LangChain LangSmith LangGraph LangChain Changelog Sign up for our newsletter to stay up to date DATE: The LangChain Team LangGraph LangGraph Platform ☁ 🚀 LangGraph Platform: Deploy at scale, monitor carefully, iterate boldly DATE: June 27, 2024 AUTHOR: The LangChain Team LangGraph Platform is now in closed beta, offering scalable, fault-tolerant deployment for LangGraph agents. LangGraph Platform also includes a new playground-like studio for debugging agent failure modes and quick iteration: Join the waitlist today for LangGraph Platform. And to learn more, read our blog post announcement or check out our docs. Subscribe By clicking subscribe, you accept our privacy policy and terms and conditions."}] ================================== Ai Message ==================================
[{'text': "Based on the search results, it appears that LangGraph was already in existence before June 27, 2024, when LangGraph Platform was announced. However, the search results don't provide a specific release date for the original LangGraph. \n\nGiven this information, I'll use the human_assistance tool to review and potentially provide more accurate information about LangGraph's initial release date.", 'type': 'text'}, {'id': 'toolu_01JDQAV7nPqMkHHhNs3j3XoN', 'input': {'name': 'Assistant', 'birthday': '2023-01-01'}, 'name': 'human_assistance', 'type': 'tool_use'}] Tool Calls: human_assistance (toolu_01JDQAV7nPqMkHHhNs3j3XoN) Call ID: toolu_01JDQAV7nPqMkHHhNs3j3XoN Args: name: Assistant birthday: 2023-01-01
config = {"configurable": {"thread_id": "1"}} events = graph.stream( { "messages": [ { "role": "user", "content": ( "I'm learning LangGraph. " "Could you do some research on it for me?" ), }, ], }, config, stream_mode="values", ) for event in events: if"messages"in event: event["messages"][-1].pretty_print() events = graph.stream( { "messages": [ { "role": "user", "content": ( "Ya that's helpful. Maybe I'll " "build an autonomous agent with it!" ), }, ], }, config, stream_mode="values", ) for event in events: if"messages"in event: event["messages"][-1].pretty_print()
重放完整的状态历史记录
我们可以通过replay来查看发生的所有事情,即完整的状态历史记录
1 2 3 4 5 6 7
to_replay = None for state in graph.get_state_history(config): print("Num Messages: ", len(state.values["messages"]), "Next: ", state.next) print("-" * 80) iflen(state.values["messages"]) == 6: # We are somewhat arbitrarily selecting a specific state based on the number of chat messages in the state. to_replay = state
# The `checkpoint_id` in the `to_replay.config` corresponds to a state we've persisted to our checkpointer.
for event in graph.stream(None, to_replay.config, stream_mode="values"):
    if "messages" in event:
        event["messages"][-1].pretty_print()
================================== Ai Message ==================================

[{'text': "That's an exciting idea! Building an autonomous agent with LangGraph is indeed a great application of this technology. LangGraph is particularly well-suited for creating complex, multi-step AI workflows, which is perfect for autonomous agents. Let me gather some more specific information about using LangGraph for building autonomous agents.", 'type': 'text'}, {'id': 'toolu_01QWNHhUaeeWcGXvA4eHT7Zo', 'input': {'query': 'Building autonomous agents with LangGraph examples and tutorials'}, 'name': 'tavily_search_results_json', 'type': 'tool_use'}]
Tool Calls:
  tavily_search_results_json (toolu_01QWNHhUaeeWcGXvA4eHT7Zo)
 Call ID: toolu_01QWNHhUaeeWcGXvA4eHT7Zo
  Args:
    query: Building autonomous agents with LangGraph examples and tutorials
================================= Tool Message =================================
Name: tavily_search_results_json

[{"url": "https://towardsdatascience.com/building-autonomous-multi-tool-agents-with-gemini-2-0-and-langgraph-ad3d7bd5e79d", "content": "Building Autonomous Multi-Tool Agents with Gemini 2.0 and LangGraph | by Youness Mansar | Jan, 2025 | Towards Data Science Building Autonomous Multi-Tool Agents with Gemini 2.0 and LangGraph A practical tutorial with full code examples for building and running multi-tool agents Towards Data Science LLMs are remarkable — they can memorize vast amounts of information, answer general knowledge questions, write code, generate stories, and even fix your grammar. In this tutorial, we are going to build a simple LLM agent that is equipped with four tools that it can use to answer a user’s question. This Agent will have the following specifications: Follow Published in Towards Data Science --------------------------------- Your home for data science and AI. Follow Follow Follow"}, {"url": "https://github.com/anmolaman20/Tools_and_Agents", "content": "GitHub - anmolaman20/Tools_and_Agents: This repository provides resources for building AI agents using Langchain and Langgraph. This repository provides resources for building AI agents using Langchain and Langgraph. This repository provides resources for building AI agents using Langchain and Langgraph. This repository serves as a comprehensive guide for building AI-powered agents using Langchain and Langgraph. It provides hands-on examples, practical tutorials, and resources for developers and AI enthusiasts to master building intelligent systems and workflows. AI Agent Development: Gain insights into creating intelligent systems that think, reason, and adapt in real time. This repository is ideal for AI practitioners, developers exploring language models, or anyone interested in building intelligent systems. This repository provides resources for building AI agents using Langchain and Langgraph."}]
================================== Ai Message ==================================

Great idea! Building an autonomous agent with LangGraph is indeed an excellent way to apply and deepen your understanding of the technology. Based on the search results, I can provide you with some insights and resources to help you get started:

1. Multi-Tool Agents:
   LangGraph is well-suited for building autonomous agents that can use multiple tools. This allows your agent to have a variety of capabilities and choose the appropriate tool based on the task at hand.

2. Integration with Large Language Models (LLMs):
   There's a tutorial that specifically mentions using Gemini 2.0 (Google's LLM) with LangGraph to build autonomous agents. This suggests that LangGraph can be integrated with various LLMs, giving you flexibility in choosing the language model that best fits your needs.

3. Practical Tutorials:
   There are tutorials available that provide full code examples for building and running multi-tool agents. These can be invaluable as you start your project, giving you a concrete starting point and demonstrating best practices.
...

Remember, building an autonomous agent is an iterative process. Start simple and gradually increase complexity as you become more comfortable with LangGraph and its capabilities.

Would you like more information on any specific aspect of building your autonomous agent with LangGraph?
Output is truncated. View as a scrollable element or open in a text editor. Adjust cell output settings...